
This may not a big deal for all you North Indians who eat roti or chapati every day. As a hardcore South Indian who eats them probably once a week, I hate making the chapati or roti dough. It gets sticky, I need to pour water with one hand and mix with the other, the stuff gets under my nails, and worse, it takes forever to clean my hand afterwards, not to mention the energy you need to exert to get it ready.
I got my Kitchenaid a few months back and while I don't talk about it much, we are really good friends now. So much more than we would have been because now I make my roti dough in my Kitchenaid!
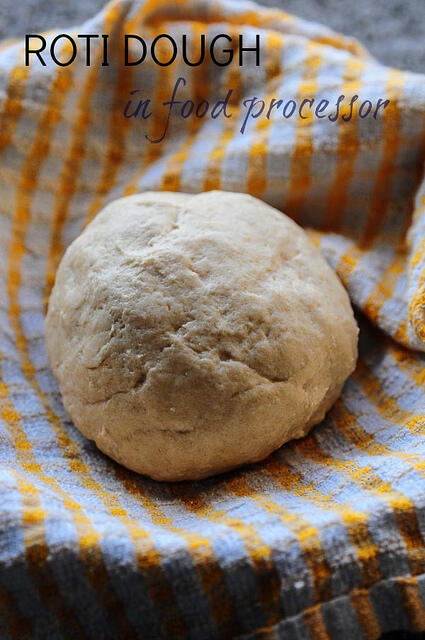
Also check out how to make roti dough in a food processor.
If you are one of those people who got a Kitchenaid and hardly get any use out of it except those occasional days you bake a cake, please make use of your dough hooks!
How to Make Chapati / Roti Dough in your Kitchenaid
I have measured out the exact amount of flour:water ratio but this could change depending on the type of atta you use and weather and temperature where you live. Play it by ear the first time but note it down so that from the next time on, you can go on auto mode.
Ingredients (for 7 chapatis / rotis)
1.5 cups wheat flour / atta
½ cup water
½ teaspoon salt
1 teaspoon oil or soft butter
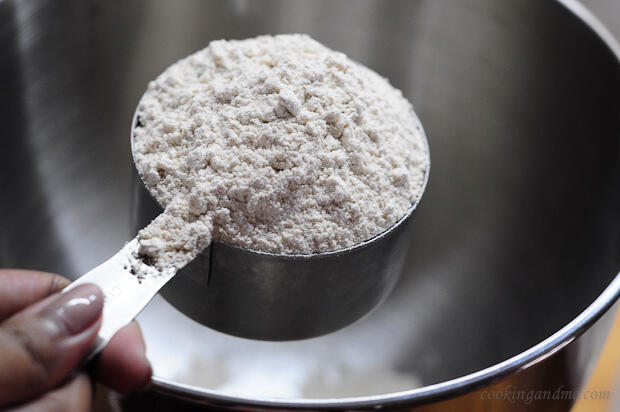
Add 1.5 cups of flour / atta to the Kitchenaid bowl.
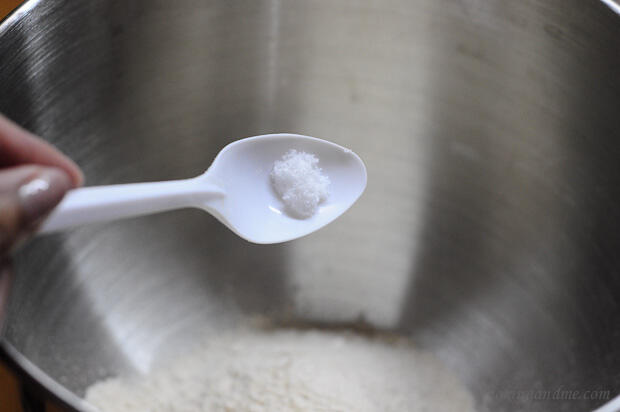
Top off with the amount of salt you require.
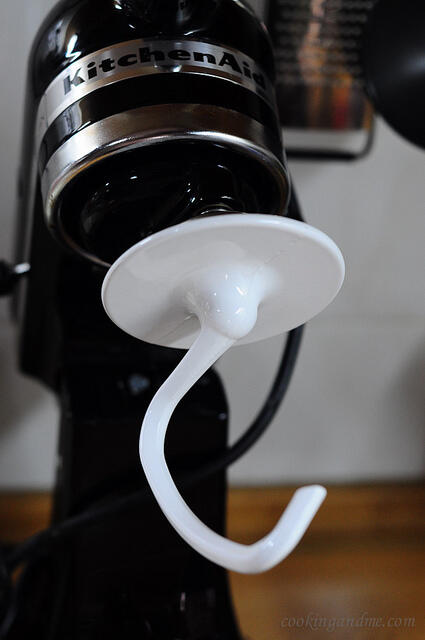
Attack your dough hook to the Kitchenaid machine. Give the flour and the salt a whir on the lowest speed until its well blended.
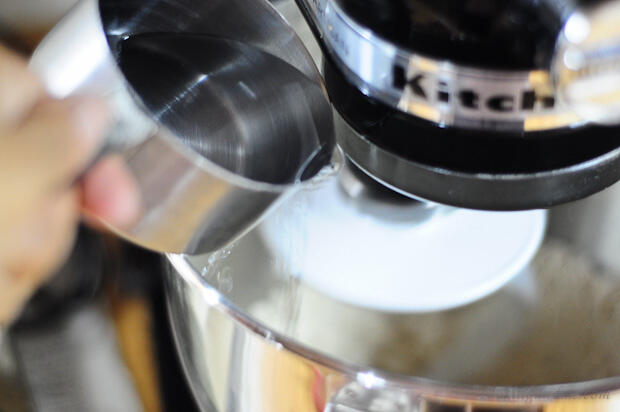
Start with ½ cup water (for 1.5 cups flour) and slowly trickle it into the bowl with the machine running on lowest speed.
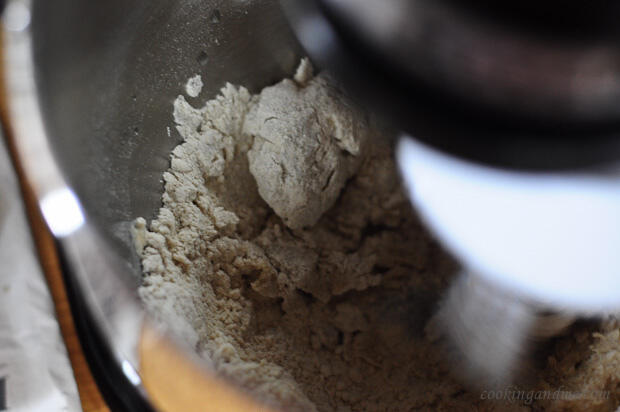
Keep it running until the dough begins to come together. You can add a drizzle of oil now (or do it at the end with your hands too). At this stage you can see if the dough needs more water. Only add 1tbsp at a time.
When the dough starts to come together, it will look deceptively dry. Don't get fooled by that. When its mixed further, it will be fine.
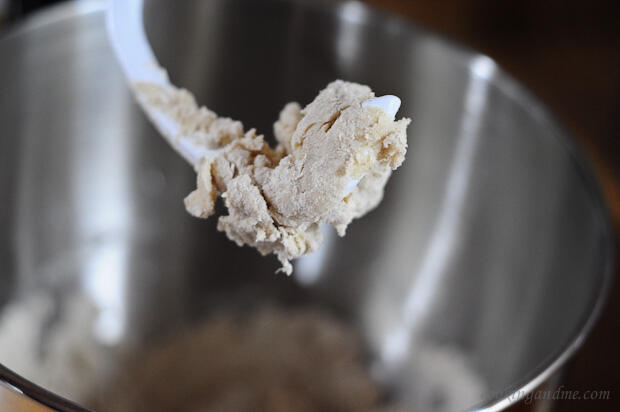
Almost done.

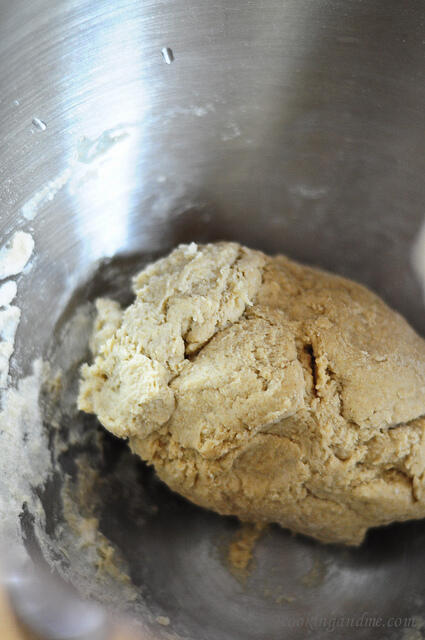
All done. See how moist the dough now looks? I didn't add any water after what you see in the previous pictures. Its possible that the dough is a bit stickier than how it turns out when you knead by hand. Add in a bit more flour and give a final knead with your fingers. I usually do this and also add oil (although nowadays I add oil when the dough is mixing because it doesn't seem to make any difference in the end). Adding oil is, of course, optional.
Note: you can use a maximum of 4 cups flour (and the remaining ingredients) to make chapati dough in your Kitchenaid. Anything over that seems to strain the machine and the blade tends to make some sound as the dough is almost ready.

Freight Audit
It looks very great. I like it.. Keep it up..
Torviewtoronto
lovely pictures 🙂
Priya (Yallapantula) Mitharwal
That's precisely my way of mixing dough too. Since I bought my kitchen aid, I have become too lazy and now mix the dough in it. I may forget the use of my fingers and knuckles soon 😉
The Whispering Path
I'm hungry! Nice blog. 🙂
Michelle Peters - Jones
The lengths we go to make life easy 🙂 I make all rotis, naans using the dough cycle of my bread machine. I'd like a Kitchenaid, but between the bread machine, the super mixer grinder and the blender I probably don't need it... but I still want it because the colours are so pretty 🙂
Anonymous
can i use this dough for the rotiboy ?
Echo's Kitchen -- A Taste of Memories
hey。。how big is your KA?
Lindsey Lea B
I am your newest follower and love the narratives! This is how my cook book should look! 🙂
jeyashrisuresh
Everytime when i use the ultra grinder atta kneader i remember you.Good that u bought a kitchen aid and so wow that u passed on the atta keader to me.Very useful post
Premalatha Aravindhan
Wow wonderful post,clicks are too gud...