
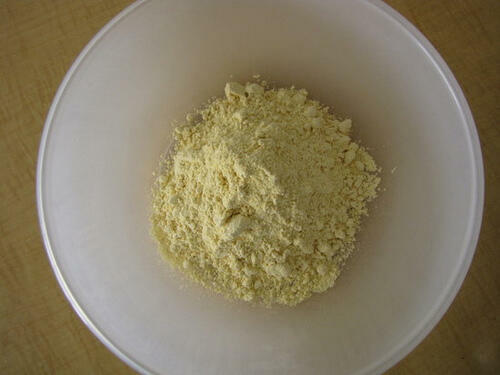
 Take 1.5 cups of besan in a bowl.


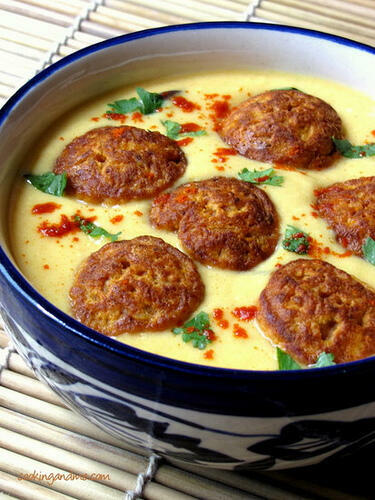
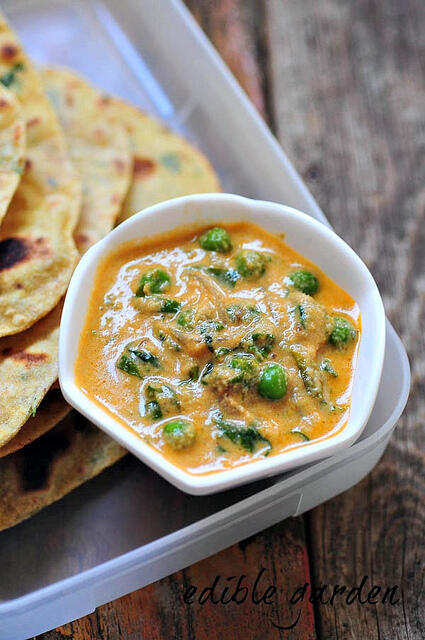
Punjabi Khadi Pakora RecipeSource: Nita Mehta's Punjabi RecipesServes: 4 as a sidePreparation time: 45 minsFor the Khadi:
2 cups curd / plain yogurt
1 cup water
⅓ cup besan / kadala maavu / gram flour
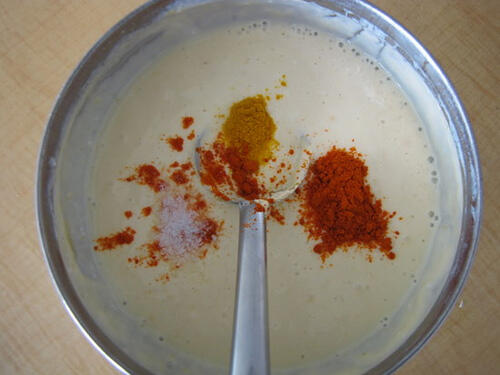
½ teaspoon turmeric powder
1 teaspoon red chilly powderFor tempering:
1 red chilly, broken into half
1 teaspoon jeera
2 teaspoon oil
SaltFor the Pakoras:
1.5 cups besan / kadala maavu / gram flour
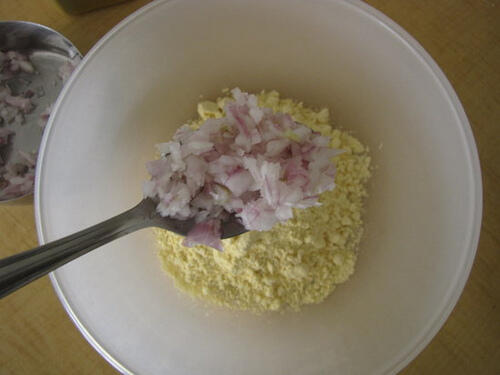
1 onion, finely chopped
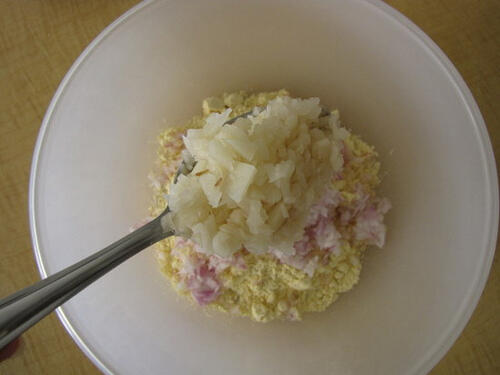
1 potato, finaly chopped
1 teaspoon red chilly powder
1 teaspoon jeera
A pinch of hing
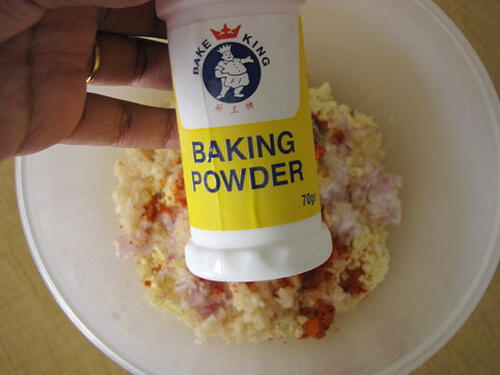
½ teaspoon baking powder
Salt
1 cup waterHow to Make Punjabi Kadhi Pakora:
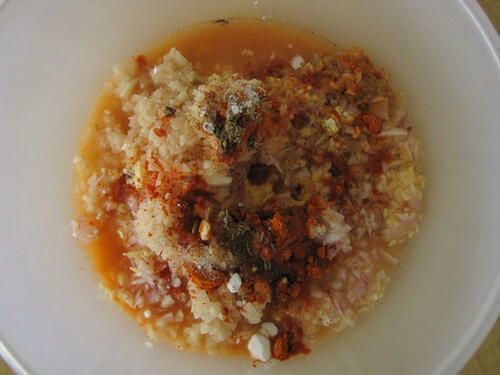
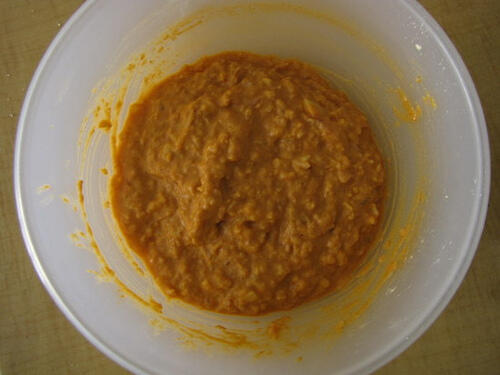
1. Mix the ingredients for the pakoras to form a batter. The consistency should be that of bajjis, not too loose.
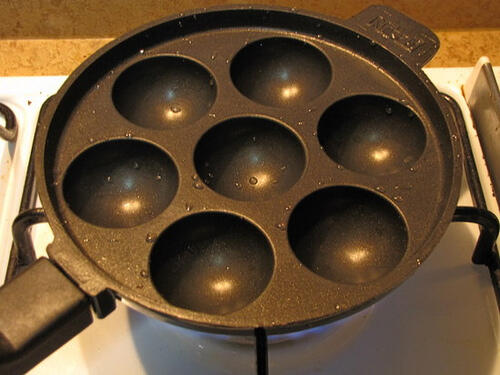
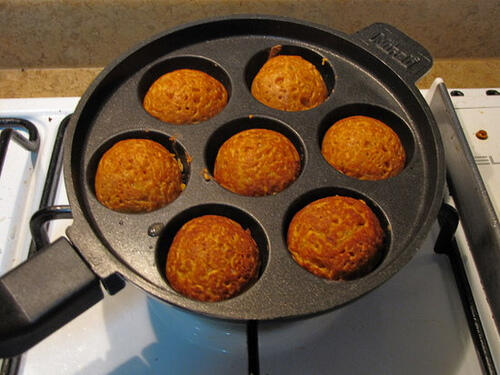
2. Deep fry the pakoras in hot oil or use a paniyaram chatti / aebleskiver pan. This should help reduce the usage of oil and give you uniformly shaped pakoras.
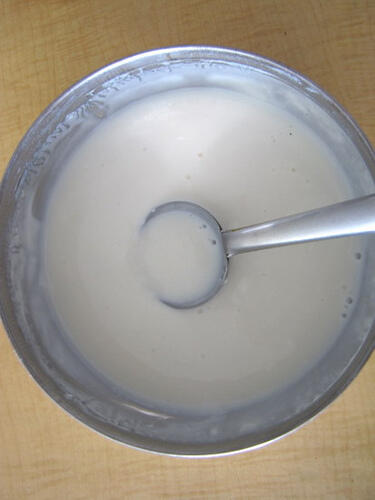
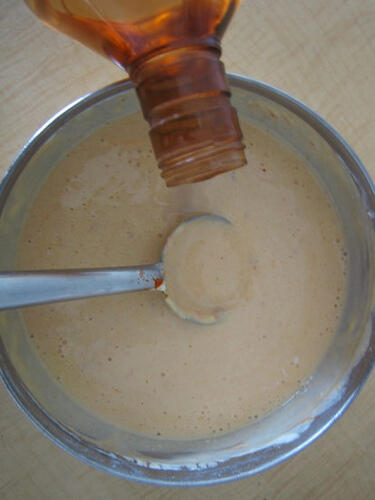
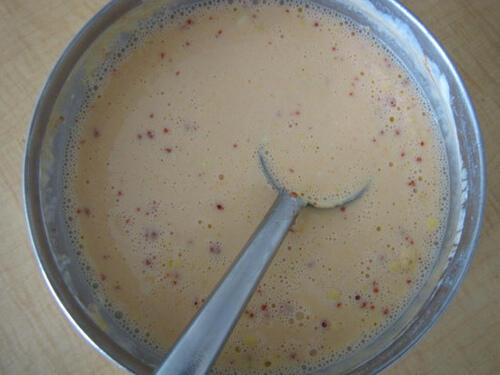
Set aside.3. Beat the curd well. Add besan and other ingredients and beat well.
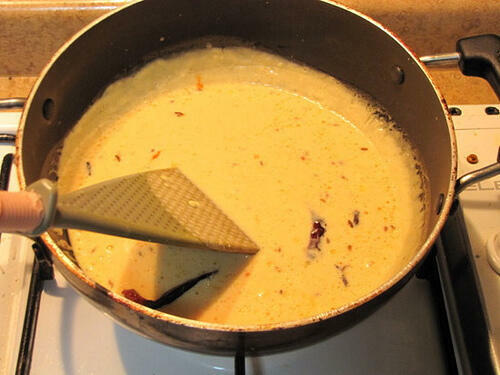
4. Heat oil and add the jeera and halved red chilly. When the jeera splutters and turns brown, lower heat to minimum and add the curd mixture. Bring to boil stirring continuously. After 5 mins, remove from fire.
5. When you are ready to serve the kadhi, add the dumplings, mix once through and serve.
Garnish with chopped coriander leaves and serve with chapatis / roti.

Anonymous
This was super delicious! I added a little julienned ginger for garnish and used fresh grated turmeric. I have never had such a tasty kadhi pakora..tried so many other recipes, this one is outstanding. Thank you so much!!
Manasi
I love kadhi-pakoda, when in India and visiting my best friend in Delhi I always ask her mom to make this, tons of kadhi, please!!
M'mm - M'mm good!
Lena Rashmin Raj
its so good that you showed step by step procedure....i just loved the first snap...bakki ishtaayilla ennallatto... really temting post..never tasted this... :)wish to hav it from screen itself.. 🙂
Miri
The paniyaram pan is a very cool idea and those pakoras look so inviting! I usually end up wolfing down a few even before putting them into the kadhi! I alternate the pakoras with mixed veggies and that version turns out great too.
Soma
My hubby's favorite! Looks awesome Nags! You have a different way to make the pakora, I do it with only onions. That bowl looks so delicious.
Cynthia
In Guyana, there is a version of this dish called Karhi and just today my mom and I were talking about it 🙂 For some reason, I don't like it, give me the gravy and the balls separate but not together 🙂
Sangeetha Subhash
Wow what delicious kadai pokara....Nicely presented...I will try this..
I have recently started the blog do visit my blog when you find time!
A_and_N
Ooh, the pics are special in this one! All said and done, Kadhi is comfort food for me 🙂
Anonymous
Hi Nags - Using the appam vessel for frying is a novelty to me!!
Thanks for sharing 🙂 I tend to shy away from deep frying recipes, now I can't wait to get this vessel in my next India trip. 🙂
-Smita
Valarmathi
New to me, looks beautiful and tempting.