• Skip to primary navigation
  • Skip to main content
  • Skip to primary sidebar
Edible Garden
  • HOME
  • ABOUT
  • RECIPES
menu icon
go to homepage
  • HOME
  • ABOUT
  • RECIPES
search icon
Homepage link
  • HOME
  • ABOUT
  • RECIPES
×
  1. Home
  2. Uncategorized
  3. Kadhi Pakora Recipe | Khadi Pakoda Recipe Punjabi-Style

Kadhi Pakora Recipe | Khadi Pakoda Recipe Punjabi-Style

Updated: Dec 1, 2015 · Published: Sep 4, 2009 by nags · This post may contain affiliate links · 100 Comments

XFacebook56PinterestTelegramWhatsAppYummly
56
SHARES
I like dumplings in gravies. Its nice to have a curry base and have these cute balls floating in it. This goes for anything, actually, and Punjabi Khadi Pakora has been in my head since forever. I had bookmarked the recipe on many sites but finally ended up making an adapted version from Nita Mehta's Punjabi Recipes book, the same one I made the Paneer Peas Curry from.

Pin

Since a lot of you may feel this is a bit of work, I took step-by-step pictures. Its not that difficult actually. The recipe has two distinct sections - making the khadi and making the pakoras. Let's make the pakoras first.


Pin
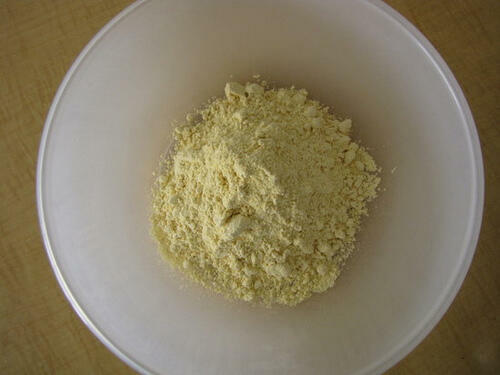
Take 1.5 cups of besan in a bowl.
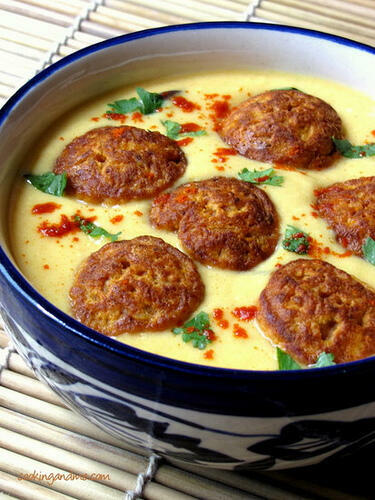
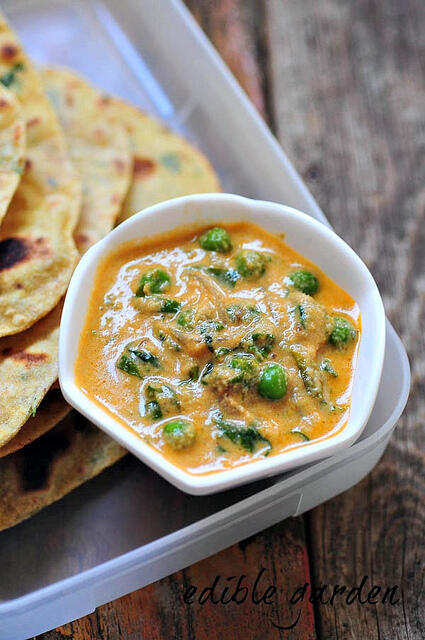
Pin
Add 1 finely chopped onion of medium size.
Pin
Then add 1 finely chopped potato. I used my chopper that I used in the Gobi Paratha Recipe to chop the onion and potato so fine but you can do it by hand too, just takes longer.
Pin
Throw in 1 teaspoon red chilly powder, 1 teaspoon jeera, salt and a pinch of hing.
Pin
Next comes baking powder. This helps to make the pakoras crisp. You can avoid this but use it if you have it.
Pin
Almost done. Add in 1 cup water.
Pin
And mix well to get a batter of dropping consistency. Make sure the batter is not too lose.
Pin
I used my spanking new paniyaram chatti / aebleskiver pan to fry the pakoras. You can also deep fry them in a kadai by dropping them in using a spoon.
Pin
Excuse the super bright pic! Its my kitchen light 😀 So, the paniyaram chatti is nice to use for mainly two reasons. You use very little oil in the process, especially if the chatti is non stick and also, the pakoras come out very uniformly shaped.
Pin
See, nicely browned and very pretty. Set them aside on a kitchen napkin.
Now for the khadi.
Pin
Take 2 cups of curd / plain yogurt in a bowl.
Pin
Add ⅓ cup besan to the curd.
Pin
Throw in ½ teaspoon turmeric powder, 1 teaspoon red chilly powder and salt. Mix well.
Pin
Add 1 cup water to this mixture.
Pin
Mix well and get ready to temper this.
Pin
For tempering, heat 2 teaspoon oil in a kadai. Add 1 teaspoon jeera and 1 red chilly torn into pieces.
Pin
When the jeera splutters and turns brown, lower the fire to sim and add the curd mixture. Mix well for about 5 mins until the khadi thickens. Adjust salt. Set aside.
Pin
Add the pakoras to the khadi just before serving. Garnish with coriander leaves and some red chilly powder.
Here's the recipe again, all in one place.
Punjabi Khadi Pakora Recipe
Source: Nita Mehta's Punjabi Recipes
Serves: 4 as a side
Preparation time: 45 mins
For the Khadi:
2 cups curd / plain yogurt
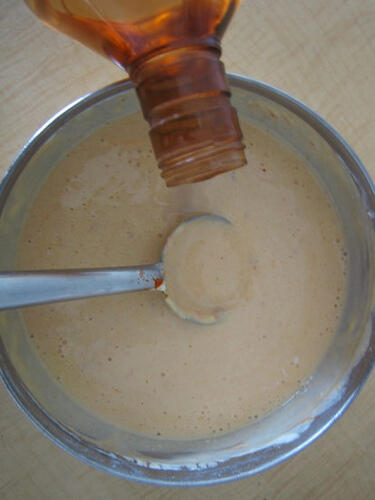
1 cup water
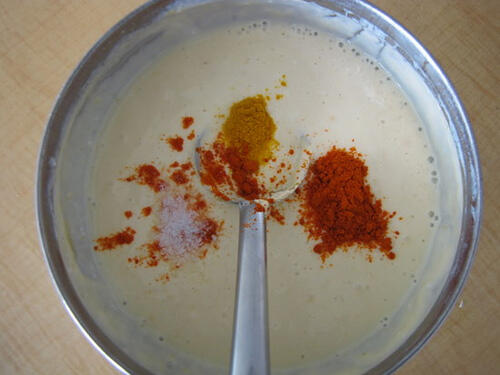
⅓ cup besan / kadala maavu / gram flour
½ teaspoon turmeric powder
1 teaspoon red chilly powder

For tempering:
1 red chilly, broken into half
1 teaspoon jeera
2 teaspoon oil
Salt

For the Pakoras:
1.5 cups besan / kadala maavu / gram flour
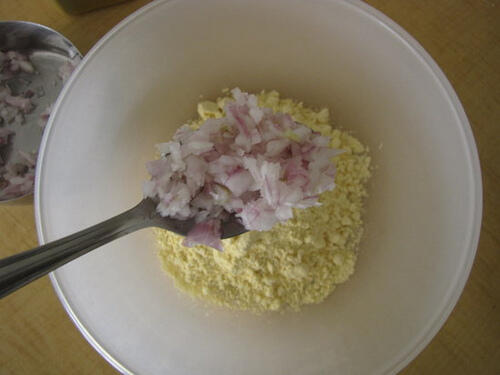
1 onion, finely chopped
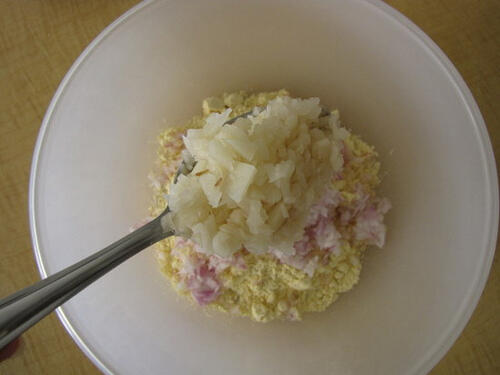
1 potato, finaly chopped
1 teaspoon red chilly powder
1 teaspoon jeera
A pinch of hing
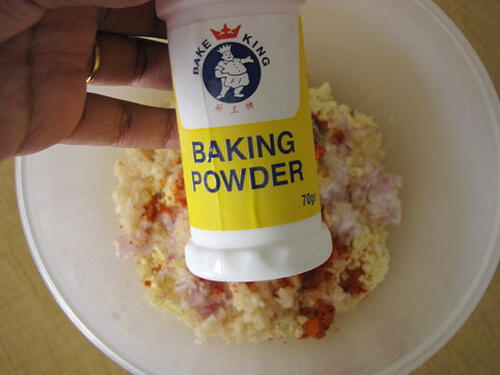
½ teaspoon baking powder
Salt
1 cup water

How to Make Punjabi Kadhi Pakora:

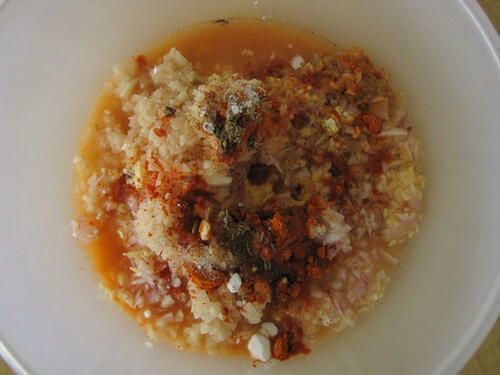
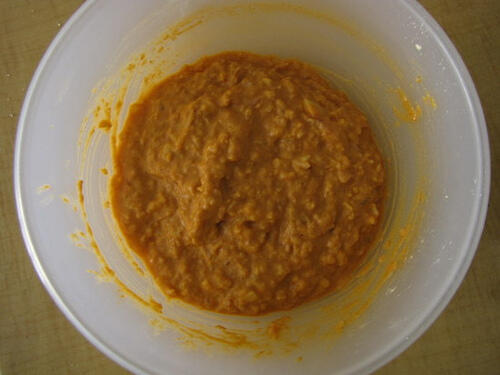
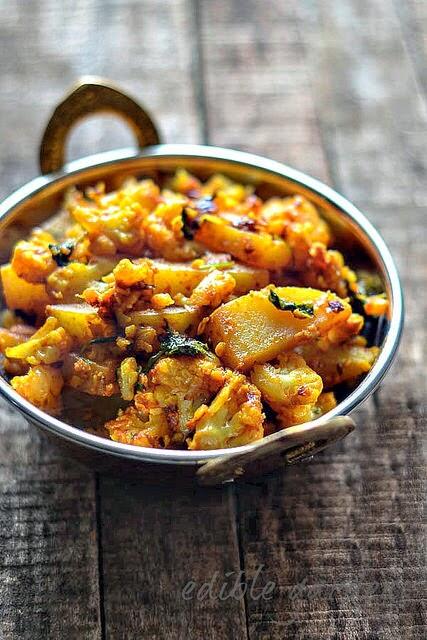
1. Mix the ingredients for the pakoras to form a batter. The consistency should be that of bajjis, not too loose.

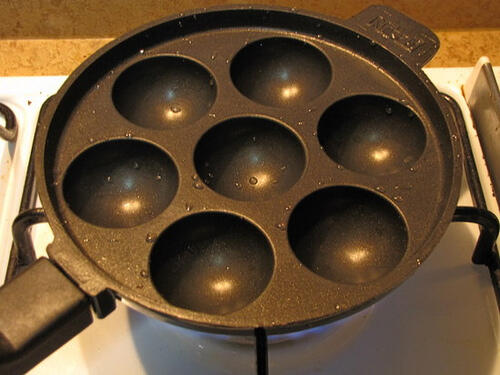
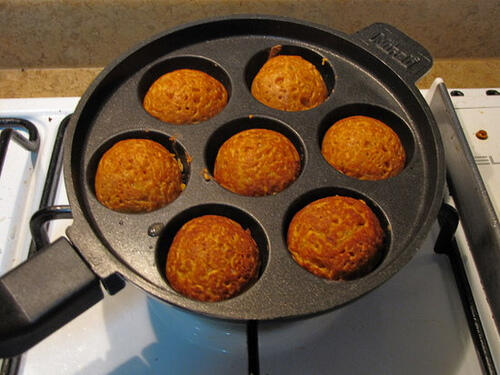
2. Deep fry the pakoras in hot oil or use a paniyaram chatti / aebleskiver pan. This should help reduce the usage of oil and give you uniformly shaped pakoras.
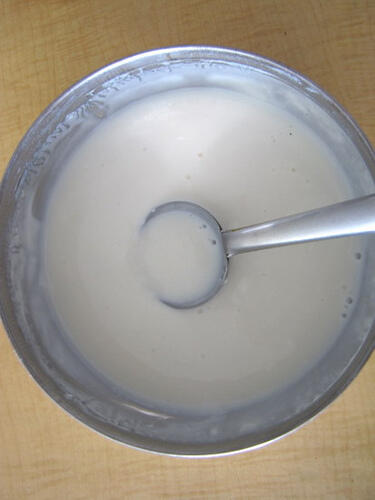
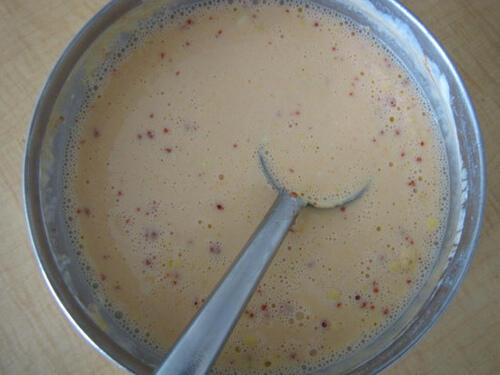
Set aside.

3. Beat the curd well. Add besan and other ingredients and beat well.

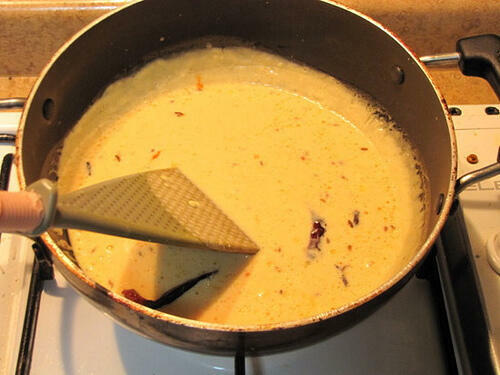
4. Heat oil and add the jeera and halved red chilly. When the jeera splutters and turns brown, lower heat to minimum and add the curd mixture. Bring to boil stirring continuously. After 5 mins, remove from fire.

5. When you are ready to serve the kadhi, add the dumplings, mix once through and serve.

Garnish with chopped coriander leaves and serve with chapatis / roti.

XFacebook56PinterestTelegramWhatsAppYummly
56
SHARES

  • aloo gobi recipe, how to make dry aloo gobi recipe
    Dry Aloo Gobi Recipe – Easy Cauliflower Potato Stir Fry
  • amritsari paneer recipe, paneer amritsari
    Paneer Amritsari Recipe, Step by Step
  • Butter-Chicken-Recipe-murgh makhani
    Butter Chicken Recipe, Indian Murgh Makhani
  • Methi Matar Malai Recipe Step by Step

Reader Interactions

Comments

  1. thenovicechef

    September 16, 2009 at 10:39 am

    Hi, First time on your blog and I love it. I have also posted Kadhi Pakora on my blog, I love this side dish.
    I love the way you have presented it with pictures.
    Aparna

    Reply
  2. Anushruti

    September 16, 2009 at 7:48 am

    This looks amazing! I always shy away from deep frying my pakoras and have been planning to use a paniyaram chetty for long. Your post has inspired me to do so soon.

    Reply
  3. Parita

    September 16, 2009 at 6:48 am

    Your step by step instructions are rocking dear!
    Lovely recipe, i will def b tryin..sounds comforting

    Reply
  4. My Experiments with Cooking

    September 16, 2009 at 3:19 am

    The first pic is just perfect!The thing with kadhi I feel is, it must be either perfect or a disaster, no?Such a cool idea to use that pan for making pakoras 🙂

    Reply
  5. Sharmila

    September 16, 2009 at 2:03 am

    I have been wanting to buy that appe pan for so long ... my pakoras are always so shapeless. Lovely presentation Nags .. crisp brown pakoras in that creamy gravy. 🙂

    Reply
  6. Cinnamon Girl aka Reeni♥

    September 16, 2009 at 1:12 am

    I've never had this! It looks incredibly delicious!!

    Reply
  7. Dibs

    September 16, 2009 at 1:00 am

    Yummy Yummy! I made khadi pakoras over the weekend - sadly the pakodas were a bit tough ..guess I did not get the consistency right. I shd have visited your blog earlier!!

    Reply
  8. Varsha Vipins

    September 15, 2009 at 11:23 pm

    That pan really helps right..I should get one,but am scared my hub will pester me to make unniyappam for him everyday..:P..The first pic rocks with the colors in it..:)

    Reply
  9. Shri

    September 15, 2009 at 8:58 pm

    Love the colors and the pakora:D Who doesn't like Pakora?

    Reply
  10. Nags

    September 16, 2009 at 3:22 am

    Divya - you are right! To avoid this, i used only 1/3 cup besan when the recipe actually called for 1/2 cup. i have even some some recipes online where they say 2 cups curd and 1 cup besan! whoah, thats way too much for me. The consistency and flavour in this was perfect for me.

    HB - i am super glad my first try of khadi pakora was a success 🙂

    Reply
« Older Comments
Newer Comments »

Leave a Reply to thenovicechef Cancel reply

Your email address will not be published. Required fields are marked *

Recipe Rating


Primary Sidebar

Footer

↑ back to top

Copyright © 2025 | Managed by Host My Blog