
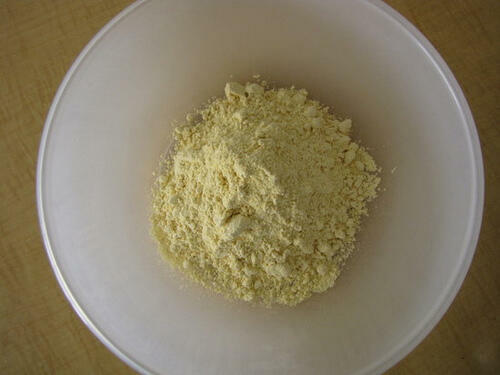
 Take 1.5 cups of besan in a bowl.


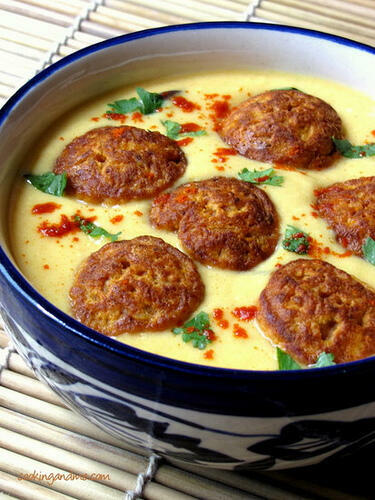
Punjabi Khadi Pakora RecipeSource: Nita Mehta's Punjabi RecipesServes: 4 as a sidePreparation time: 45 minsFor the Khadi:
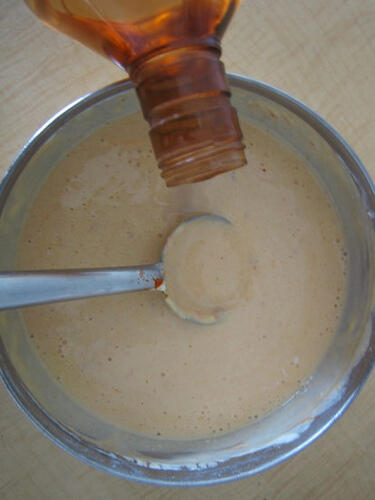
2 cups curd / plain yogurt
1 cup water
⅓ cup besan / kadala maavu / gram flour
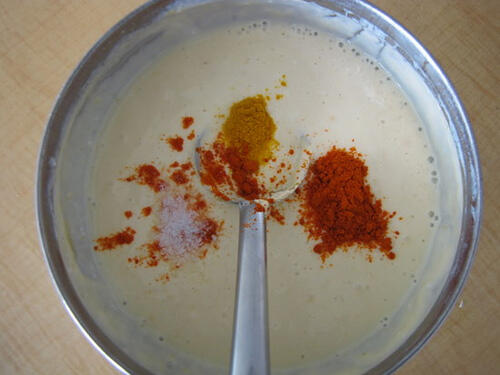
½ teaspoon turmeric powder
1 teaspoon red chilly powderFor tempering:
1 red chilly, broken into half
1 teaspoon jeera
2 teaspoon oil
SaltFor the Pakoras:
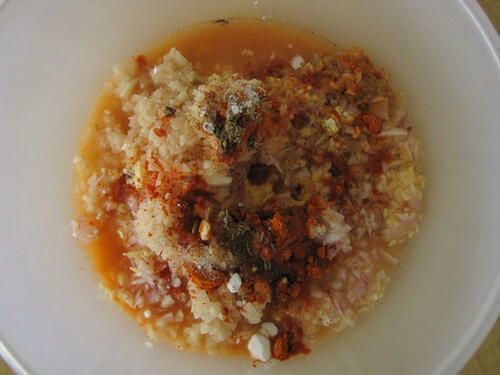
1.5 cups besan / kadala maavu / gram flour
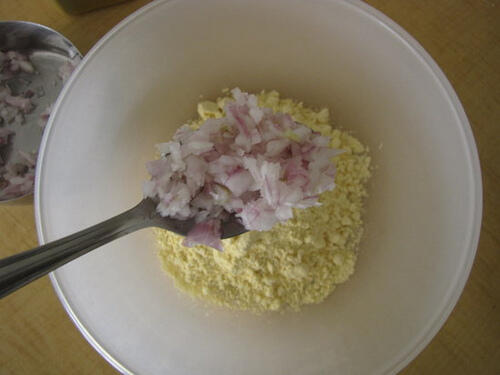
1 onion, finely chopped
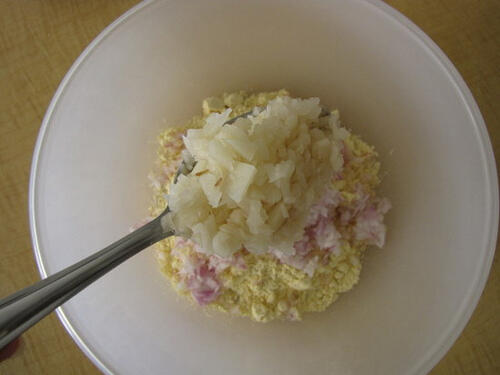
1 potato, finaly chopped
1 teaspoon red chilly powder
1 teaspoon jeera
A pinch of hing
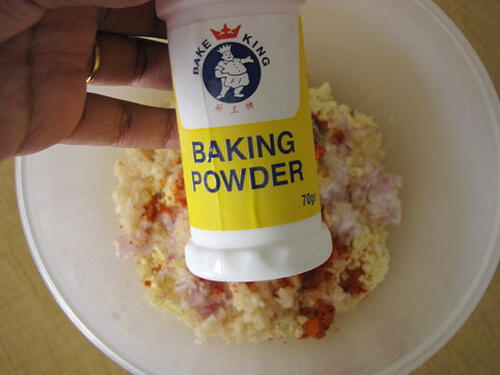
½ teaspoon baking powder
Salt
1 cup waterHow to Make Punjabi Kadhi Pakora:
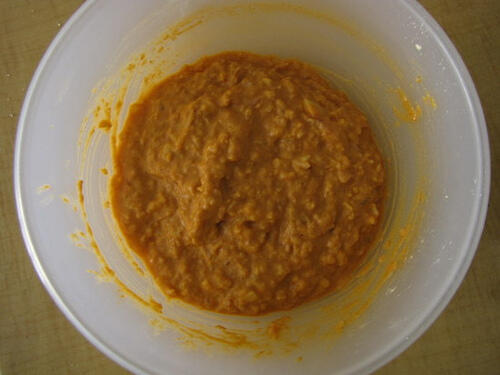
1. Mix the ingredients for the pakoras to form a batter. The consistency should be that of bajjis, not too loose.
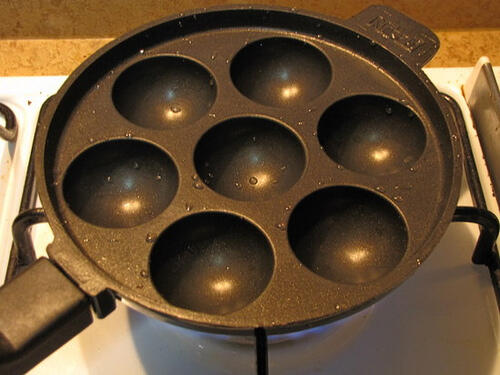
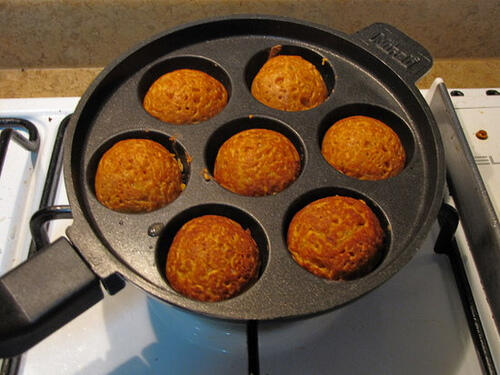
2. Deep fry the pakoras in hot oil or use a paniyaram chatti / aebleskiver pan. This should help reduce the usage of oil and give you uniformly shaped pakoras.
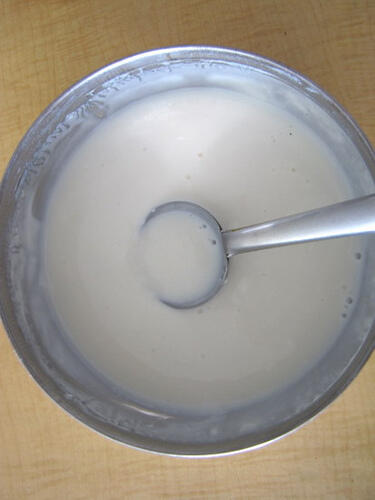
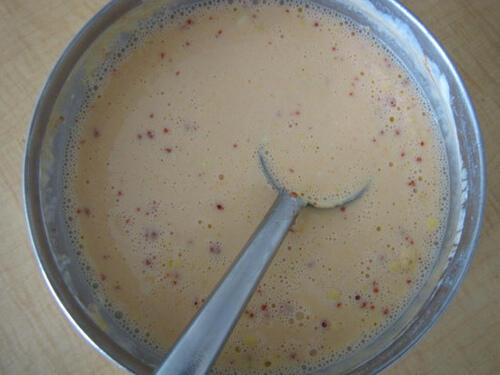
Set aside.3. Beat the curd well. Add besan and other ingredients and beat well.
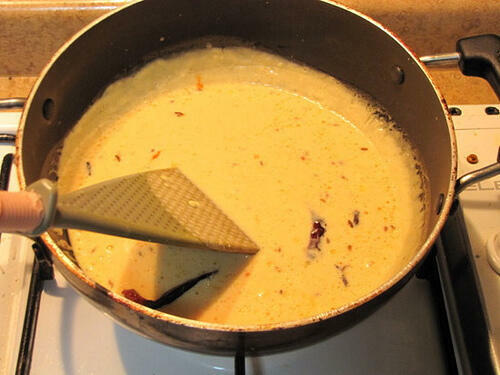
4. Heat oil and add the jeera and halved red chilly. When the jeera splutters and turns brown, lower heat to minimum and add the curd mixture. Bring to boil stirring continuously. After 5 mins, remove from fire.
5. When you are ready to serve the kadhi, add the dumplings, mix once through and serve.
Garnish with chopped coriander leaves and serve with chapatis / roti.

Danielle
everything looks so good! I'm going to have to look up the ingredients and see what they are called here. Either that or visit an Indian market 🙂
Kitchen Flavours
Love that pictorial.....
Indhu
the step-by-step pictures really help a lot... and I missed buying the kuzhi paniyaaram pan when I went to India this time... am so J 🙂
looks thick and delicious... will make this as soon as I get my hands on the paniyaaram pan!
Prathibha
One of my favorites...looks really yummy...and bit fat free too..:)
Uma
looks sooo tempting. Yum 🙂
Divya Kudua
I absolutely ♥ed the pictures:).But I am not so fond of kadhis,the taste of besan is quite overpowering isn't it?
Jayashree
I've been putting off using the appam pan for pakodas and vada....should try that out some time soon.
rekhas kitchen
very beautifuly explained. Kadhi pakoda hummm it's my fav. so tempting pic.
Arthi
Wow...Very nice... Pakodas using paniyara kal is a great idea,,,Healthy snack...Step by step instructions are awesome
Seena
Beautiful! 🙂