
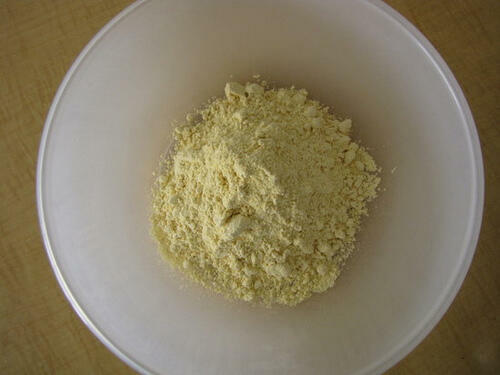
 Take 1.5 cups of besan in a bowl.


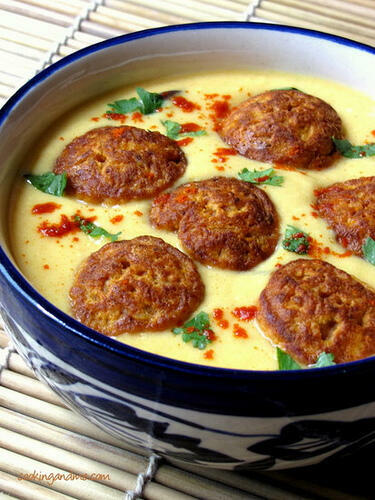
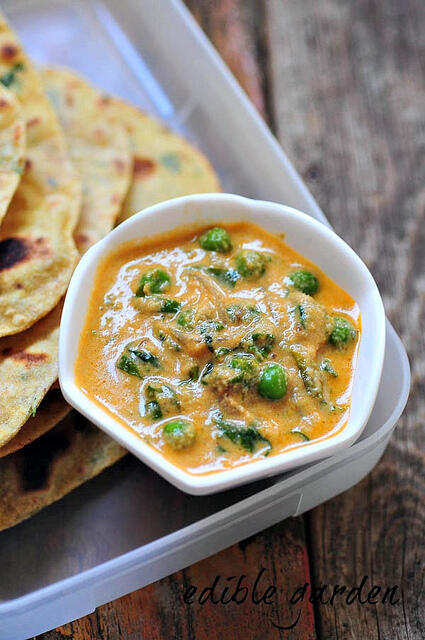
Punjabi Khadi Pakora RecipeSource: Nita Mehta's Punjabi RecipesServes: 4 as a sidePreparation time: 45 minsFor the Khadi:
2 cups curd / plain yogurt
1 cup water
⅓ cup besan / kadala maavu / gram flour
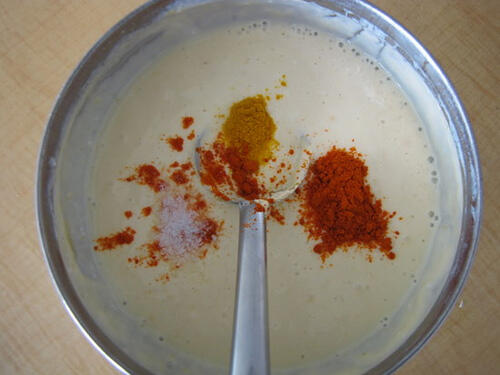
½ teaspoon turmeric powder
1 teaspoon red chilly powderFor tempering:
1 red chilly, broken into half
1 teaspoon jeera
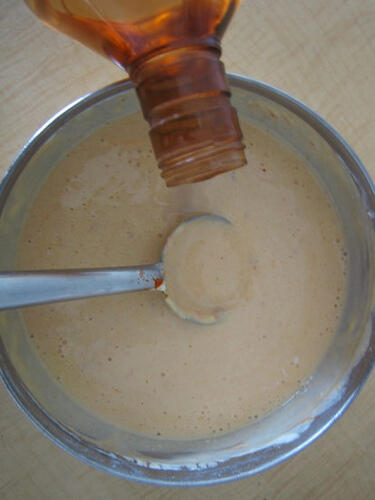
2 teaspoon oil
SaltFor the Pakoras:
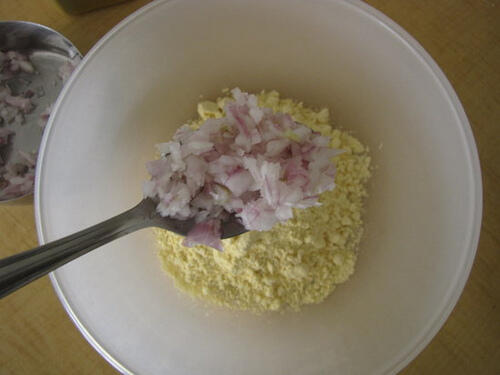
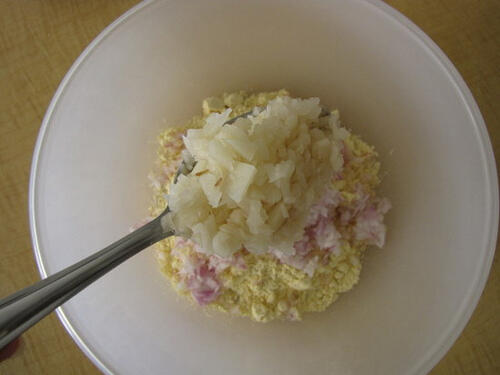
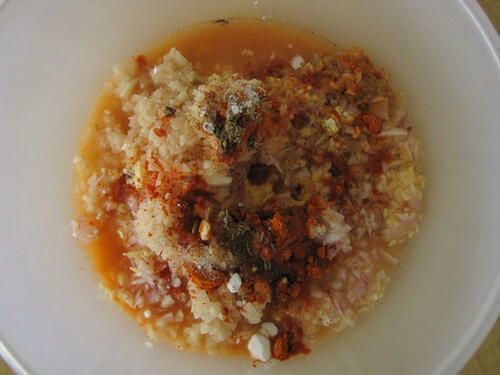
1.5 cups besan / kadala maavu / gram flour
1 onion, finely chopped
1 potato, finaly chopped
1 teaspoon red chilly powder
1 teaspoon jeera
A pinch of hing
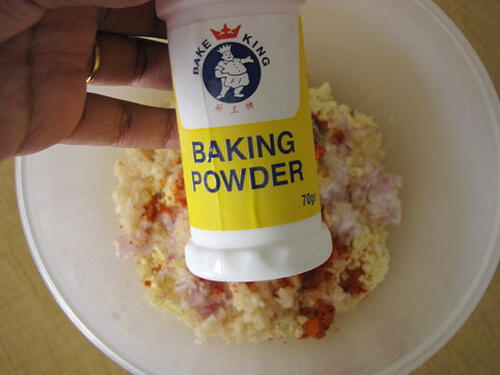
½ teaspoon baking powder
Salt
1 cup waterHow to Make Punjabi Kadhi Pakora:
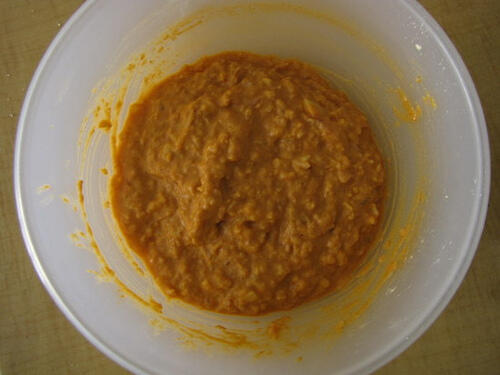
1. Mix the ingredients for the pakoras to form a batter. The consistency should be that of bajjis, not too loose.
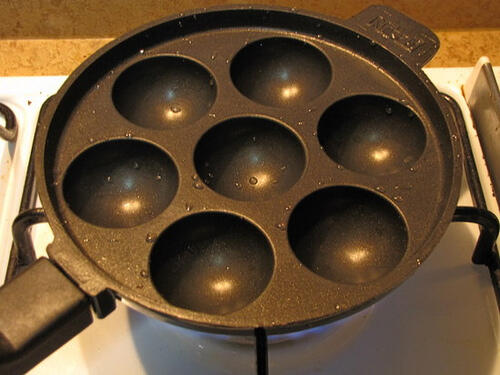
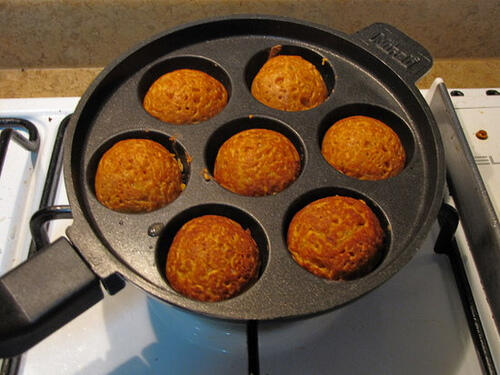
2. Deep fry the pakoras in hot oil or use a paniyaram chatti / aebleskiver pan. This should help reduce the usage of oil and give you uniformly shaped pakoras.
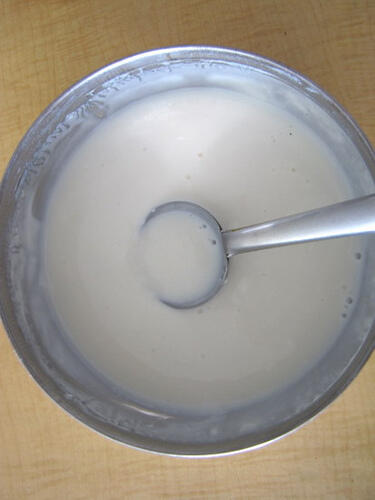
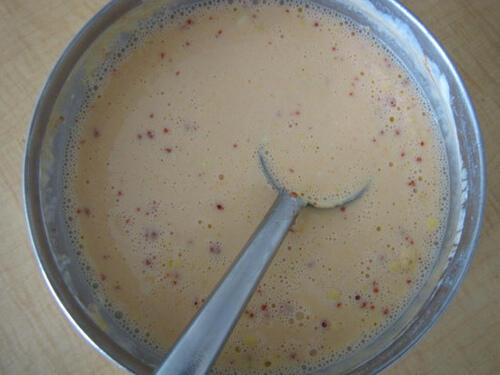
Set aside.3. Beat the curd well. Add besan and other ingredients and beat well.
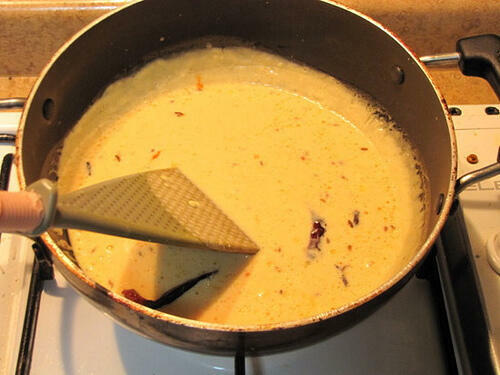
4. Heat oil and add the jeera and halved red chilly. When the jeera splutters and turns brown, lower heat to minimum and add the curd mixture. Bring to boil stirring continuously. After 5 mins, remove from fire.
5. When you are ready to serve the kadhi, add the dumplings, mix once through and serve.
Garnish with chopped coriander leaves and serve with chapatis / roti.

Sushma Mallya
lovely pic nags....Nice idea to put the batter in that pan,will def try this weekend
Nithya
wow this looks so good. New to me too.. will try it out soon. and the pics are perfect as usual 🙂
Sig
Guess what, we were making chili pakoras yeseterday and I was telling Siv that I want to make khadi with the besan, not with the pakodas though 🙂 Great minds and all that, huh? Those pakodas look so delicious, so I might even go the extra step.
RedChillies
Looks very delightful. Loved the color combination of the kadi, pakodi and the bowl.
Preeti Kashyap
This is such a great and healthy way to make pakodas. Great Click!
The Wandering Minstrel
i adore the paniyaram chatti idea 😀 shud try that soon 🙂
RAKS KITCHEN
Wow,really looking wonderful! The dumplings are looking so so pretty there in that kadhi! Will sure try soon:)
MeetaK
Nags this is so sensational. My mum makes the most killer khadi pakora and it'S very close to this. It was planned as one of my next Bollywood Cooking series. Love this and I so wish I could dip into this!
Sharmilee! :)
So tempting that I want to try it right away, but neede some time in hand...Bookmarked, will try it when my lil one permits 😉 Wonderful step step explanations!!
Sonu
Wah Nags, you are going very easier with step-by-step recipes. 🙂 Loved the serving bowl and presentation. Looks like Dahi Wada!!! Yummo. 🙂